
Finding tasks
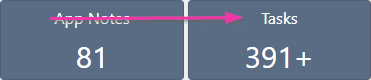
Tasks can be accessed from two locations:- Home page dashboard - click the Tasks KPI tile, which displays the number of incomplete tasks and incidents assigned to you
- Tasks list - navigate to the full tasks page for detailed filtering and management
Filtering tasks
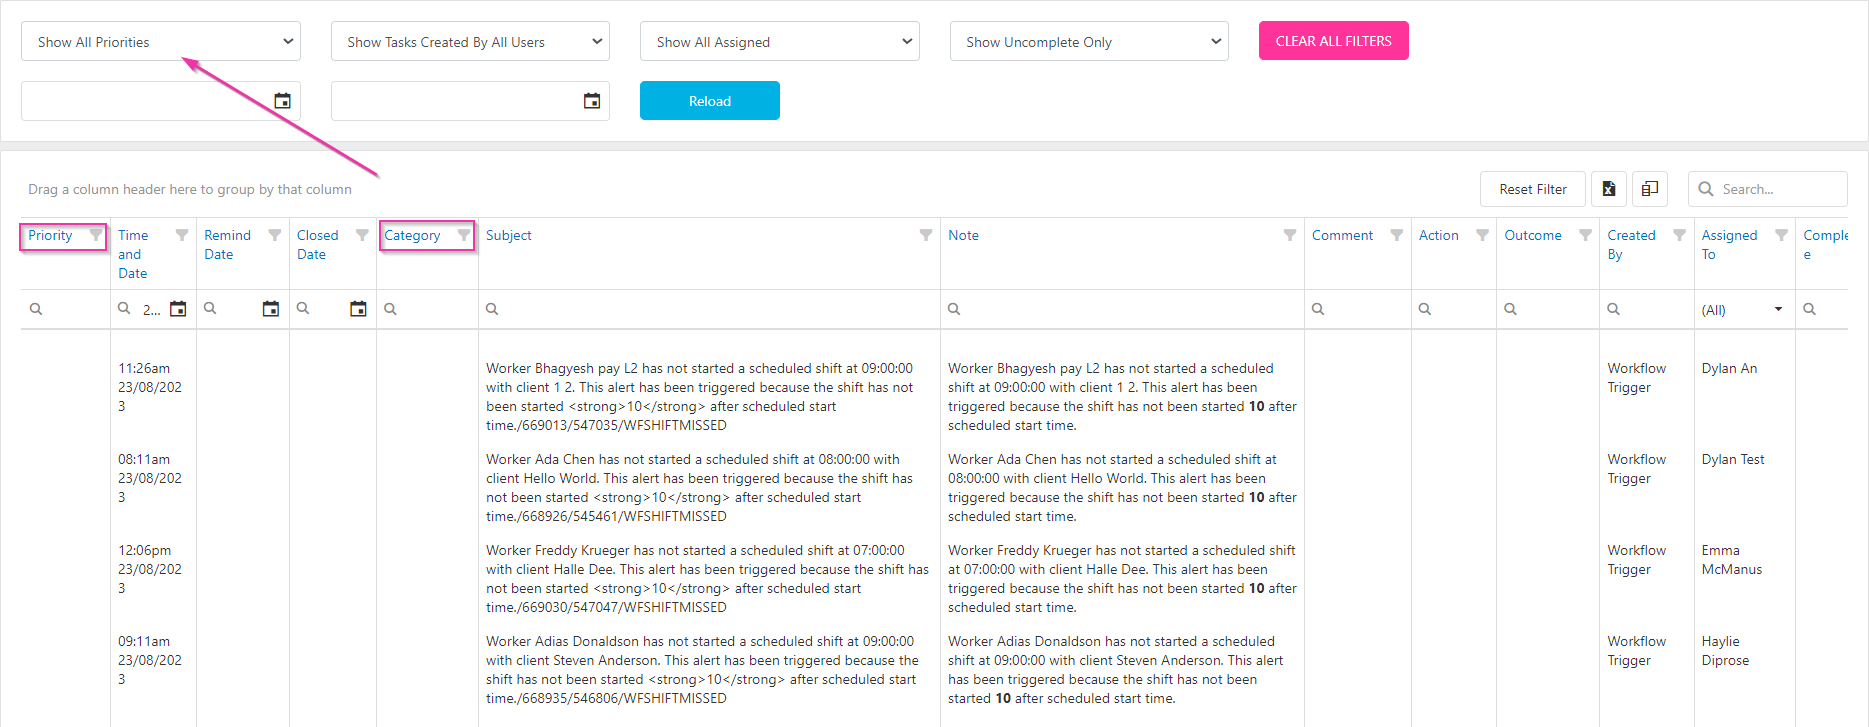
Use the search features at the top of the tasks page to narrow down your view:
Customising the task view
The task grid can be customised to suit how you work. Once you’ve set up a particular view, it becomes your default the next time you access the screen.Column chooser
All available data fields not currently displayed are in the Column Chooser. Click the column chooser icon, search for the field you need, and drag it into the grid. To remove a column, drag it back into the column chooser.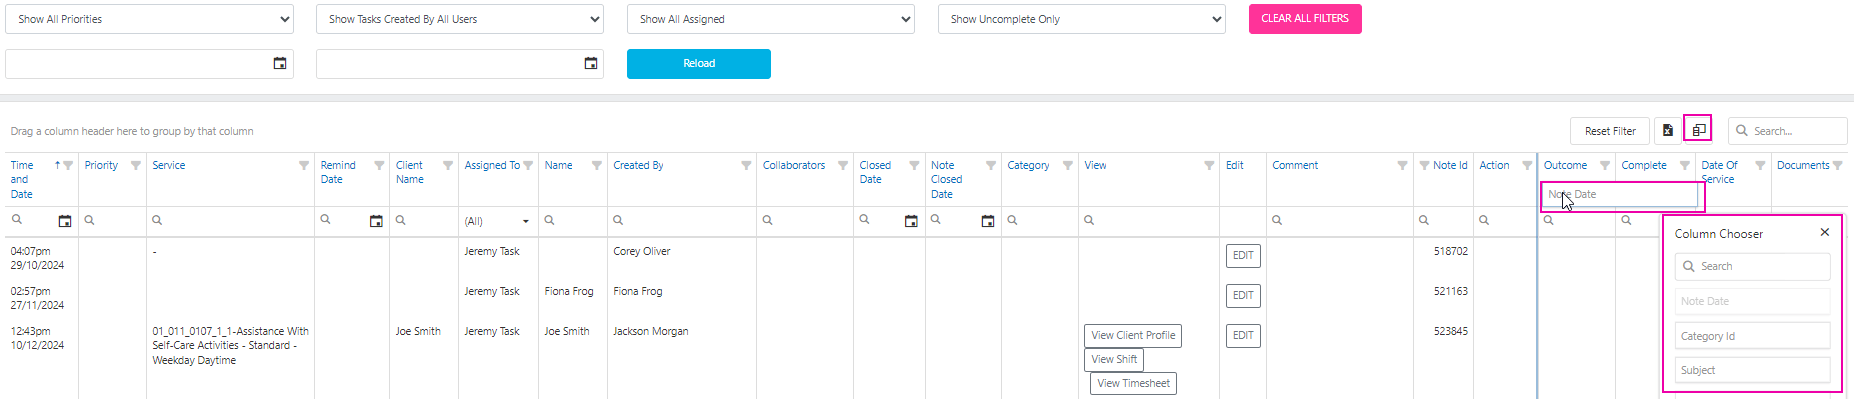
Column positions
Rearrange columns by dragging and dropping them to your preferred position (for example, moving the Edit button to the start of the grid).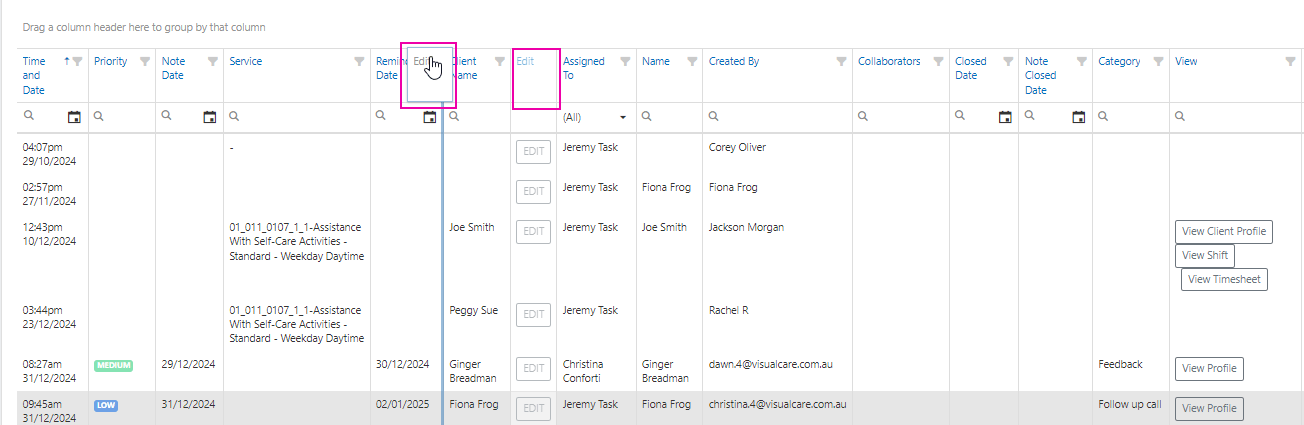
Grouping columns
Group tasks by a column by dragging the column header to the area labelled Drag a column header here to group by that column (for example, grouping tasks by date). To clear the grouping, drag the column back into the grid.Filtering columns
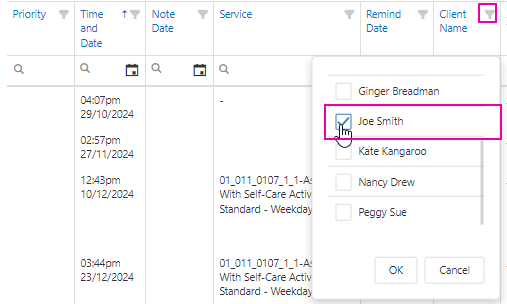
Columns can be filtered in three ways:- Using the funnel icon next to the column heading
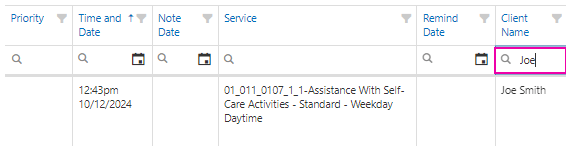
- Entering search text into the search bar within the column
- Using the search bar at the top of the grid

Managing a task
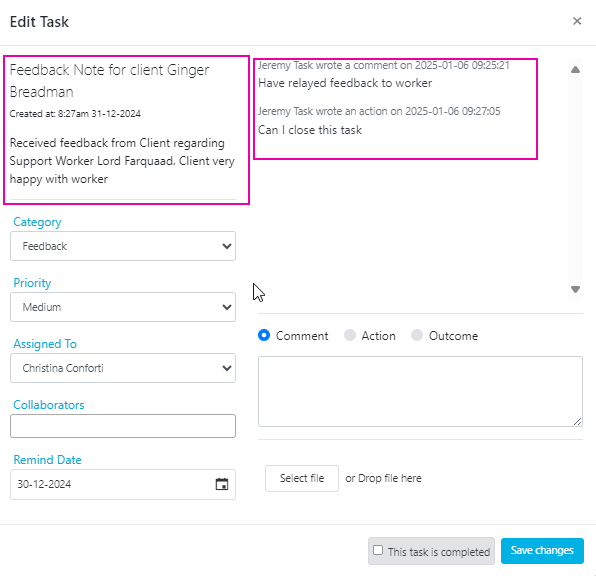
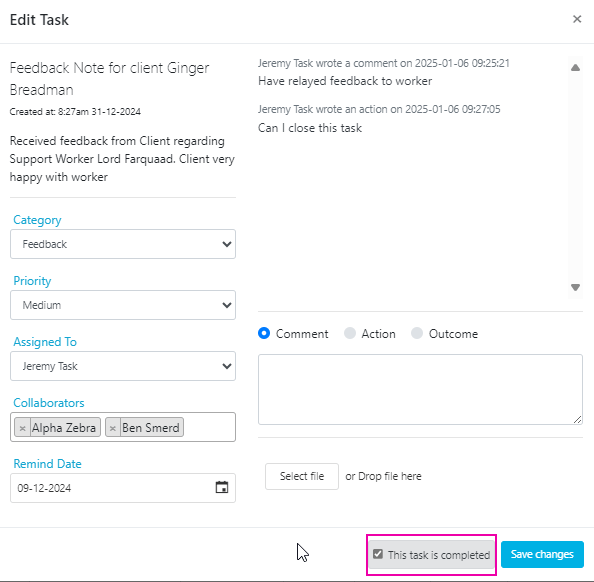
To manage a task, click the Edit button on the task row. The task window opens with the following fields: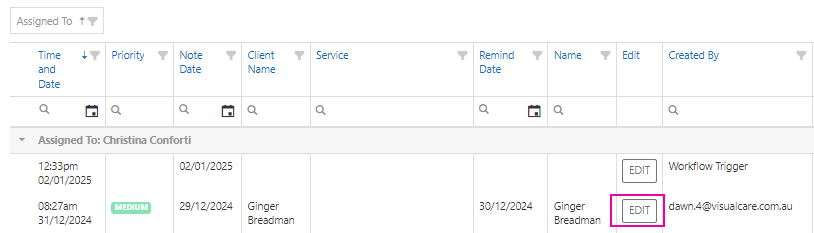
Completing a task
When all actions for a task are finished:- Locate the task and click Edit
- Tick This task is completed
- Click Save Changes
Automated workflows
Tasks can also be created automatically by workflows - for example, when a client agreement reaches its alert date. See Automated workflows for how to set up triggers and actions.Automated workflows
Set up automated email notifications and task creation triggered by events in Visualcare
Running into issues?
See General troubleshooting for common errors and fixes.Related articles
Creating tasks
Create and assign tasks from notes
Bulk edit tools
Edit multiple client or worker records at once