
Setting up vehicles
Before you can roster vehicles, they need to be added to the vehicle list.1
Open the vehicles page
From the menu bar, go to Maintenance → Vehicles. This shows a list of existing vehicles with their details.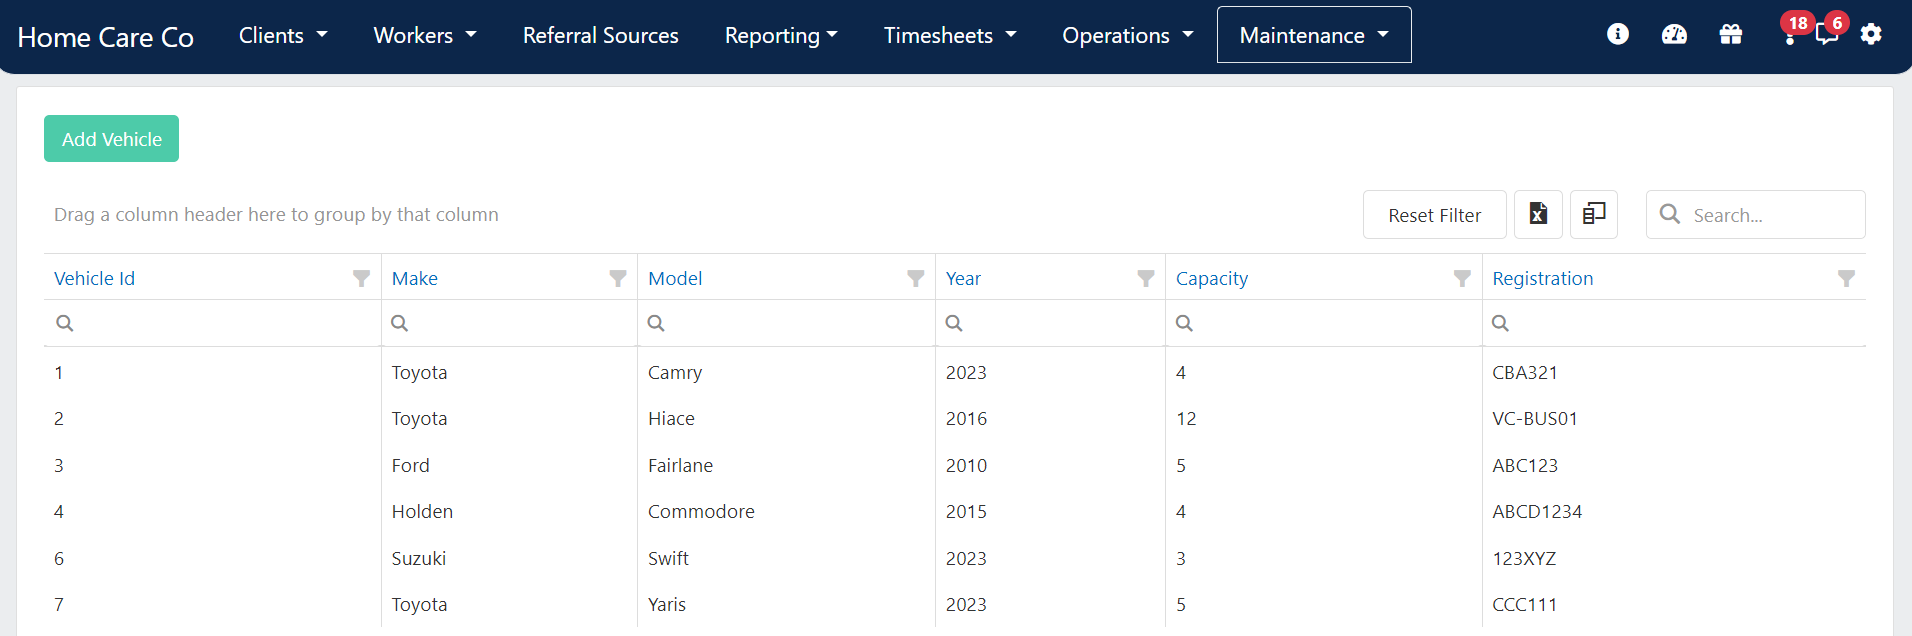
2
Add a new vehicle
Click Add Vehicle in the top left of the screen.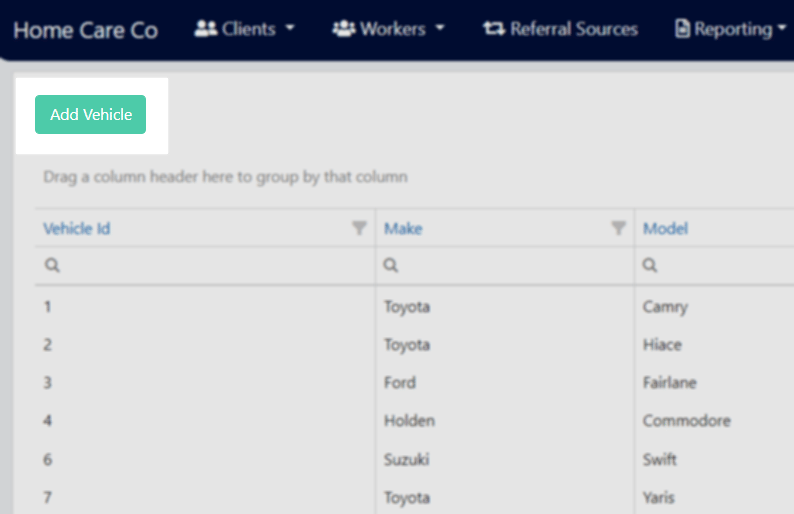
3
Enter vehicle details
In the pop-up window, enter the vehicle make, model, year, capacity (number of seats), and registration number. Click Create.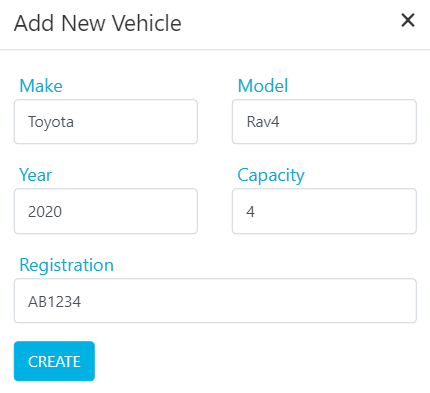
4
Edit the vehicle profile
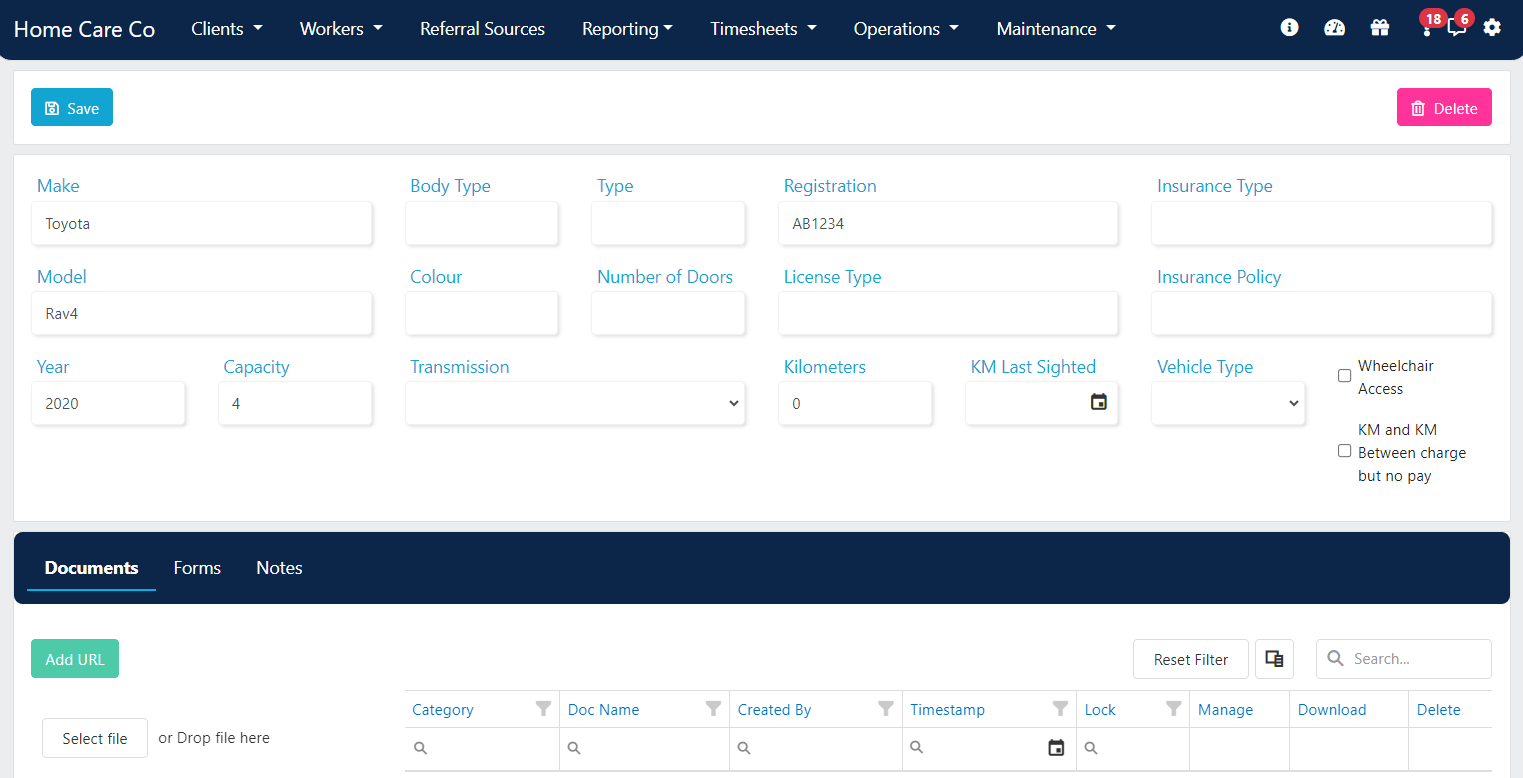
Double-click the vehicle in the list to open its profile. From here you can:
- Update vehicle information and Save
- Add Documents related to the vehicle
- Complete Forms for the vehicle
- Add or read Notes about the vehicle
-
Delete the vehicle profile if needed
Company car kilometre settings
Company car kilometre settings
If the vehicle is a company car and kilometres associated with it should be charged to the client but not paid to the worker, use the tick box on the right side of the vehicle profile page.When ticked, this applies to both the KM and KM Between fields, meaning kilometres added for shifts with this vehicle rostered are not included in the worker pay export.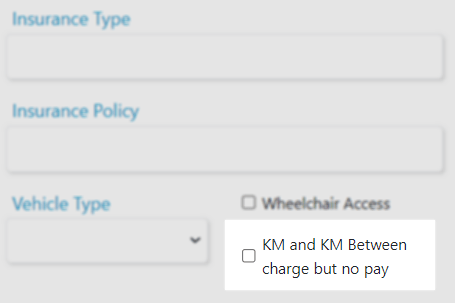
Assigning vehicles to shifts
1
Open vehicle rostering
From the menu bar, go to Operations → Vehicle Rostering. This shows a list of shifts for today.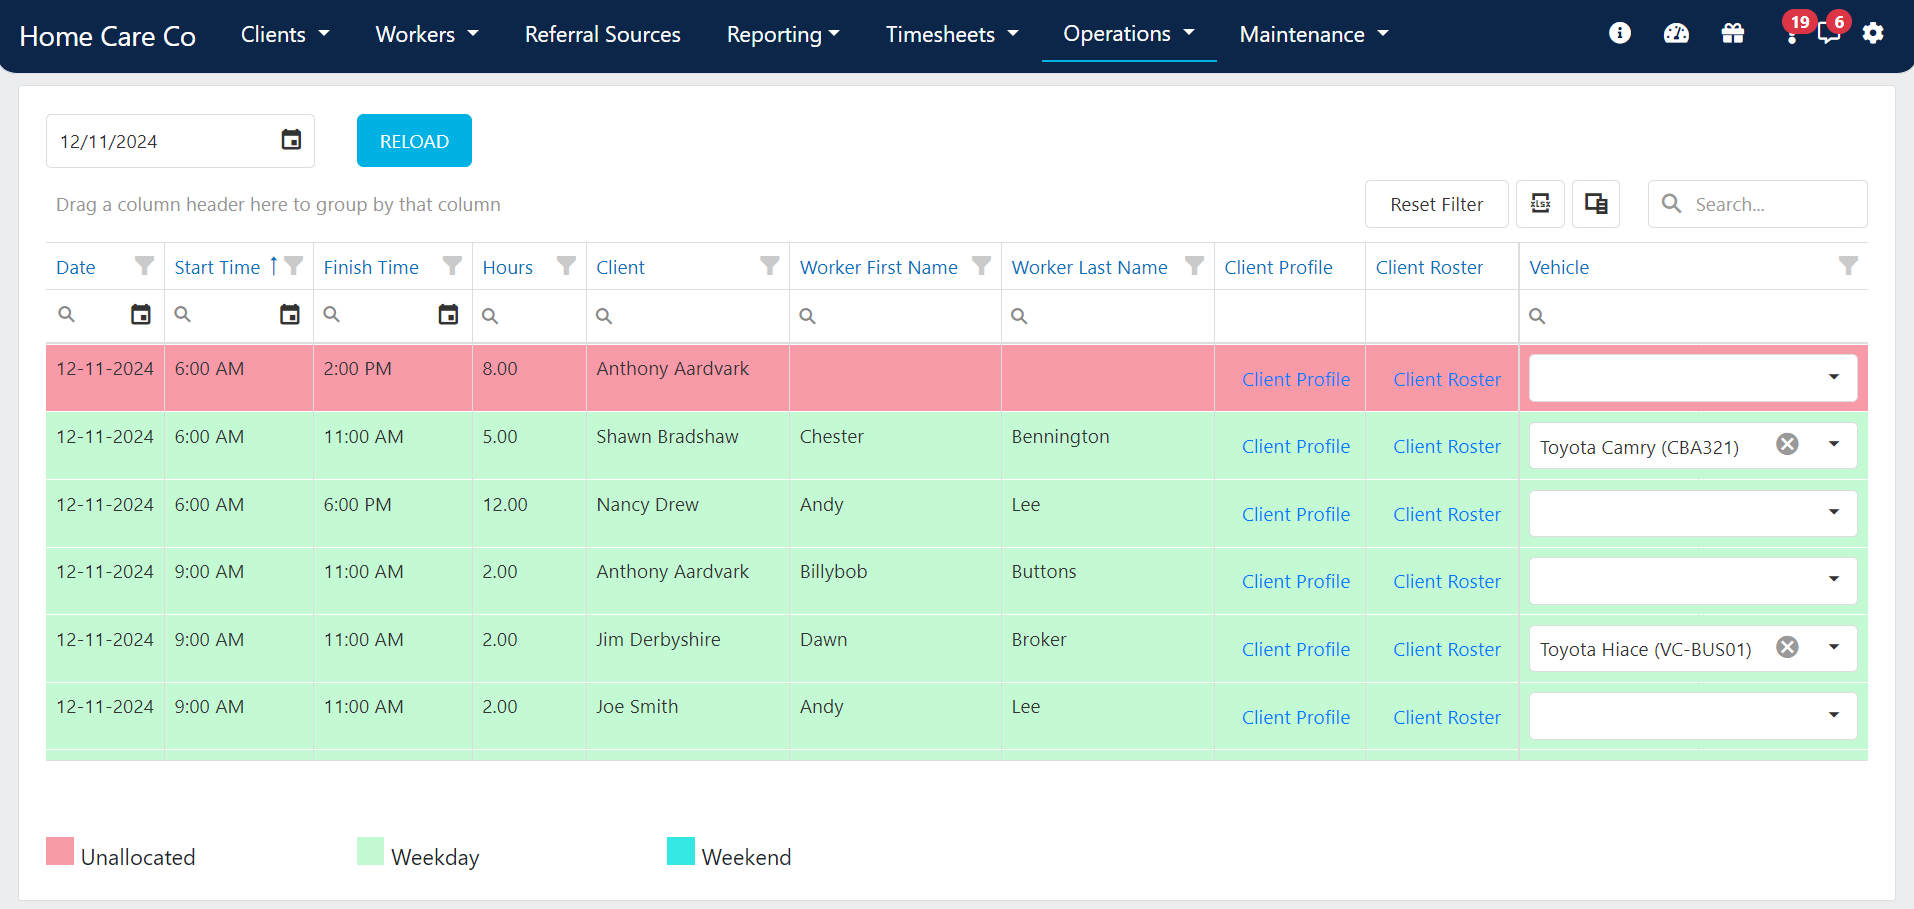
2
Select a vehicle
In the vehicle drop-down menu on the right side of the page, select the vehicle to assign to the shift.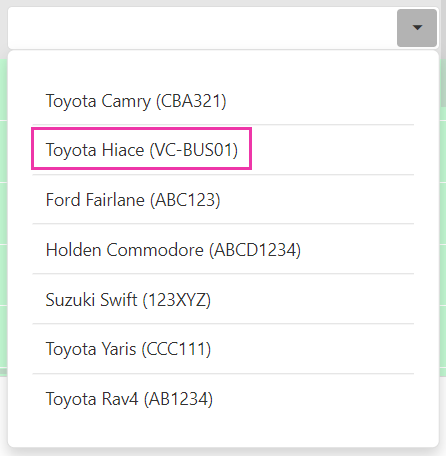
3
Check availability
If a vehicle name appears in grey italics, that vehicle is already rostered at that time and cannot be selected.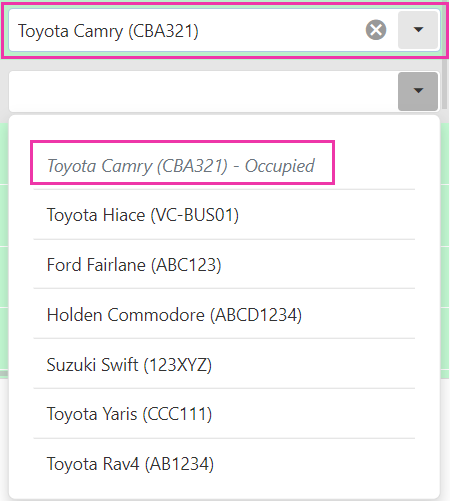
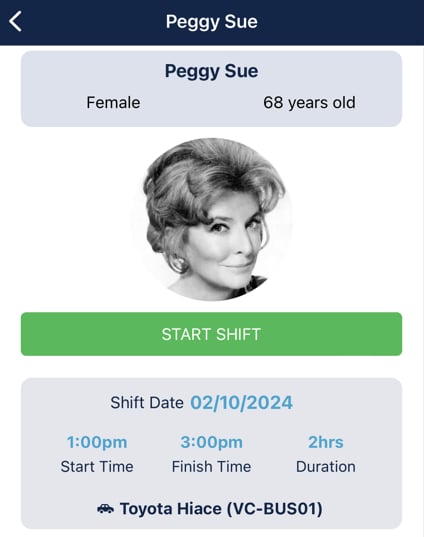
Vehicle rostering is currently not available for location roster shifts.
Running into issues?
See Scheduling troubleshooting for common errors and fixes.Related articles
Transport runs
Schedule and manage community bus runs
Creating new shifts
Create shifts in a client roster
Client and worker map
View client and worker locations on a map